
Plumeria identification help
How to Photograph Plumeria Traits
Clear, complete photos let contributors and verifiers compare the same visible evidence. Use the examples below as framing guides; they are not named cultivar records.
 1
2
3
4
5
1
2
3
4
5
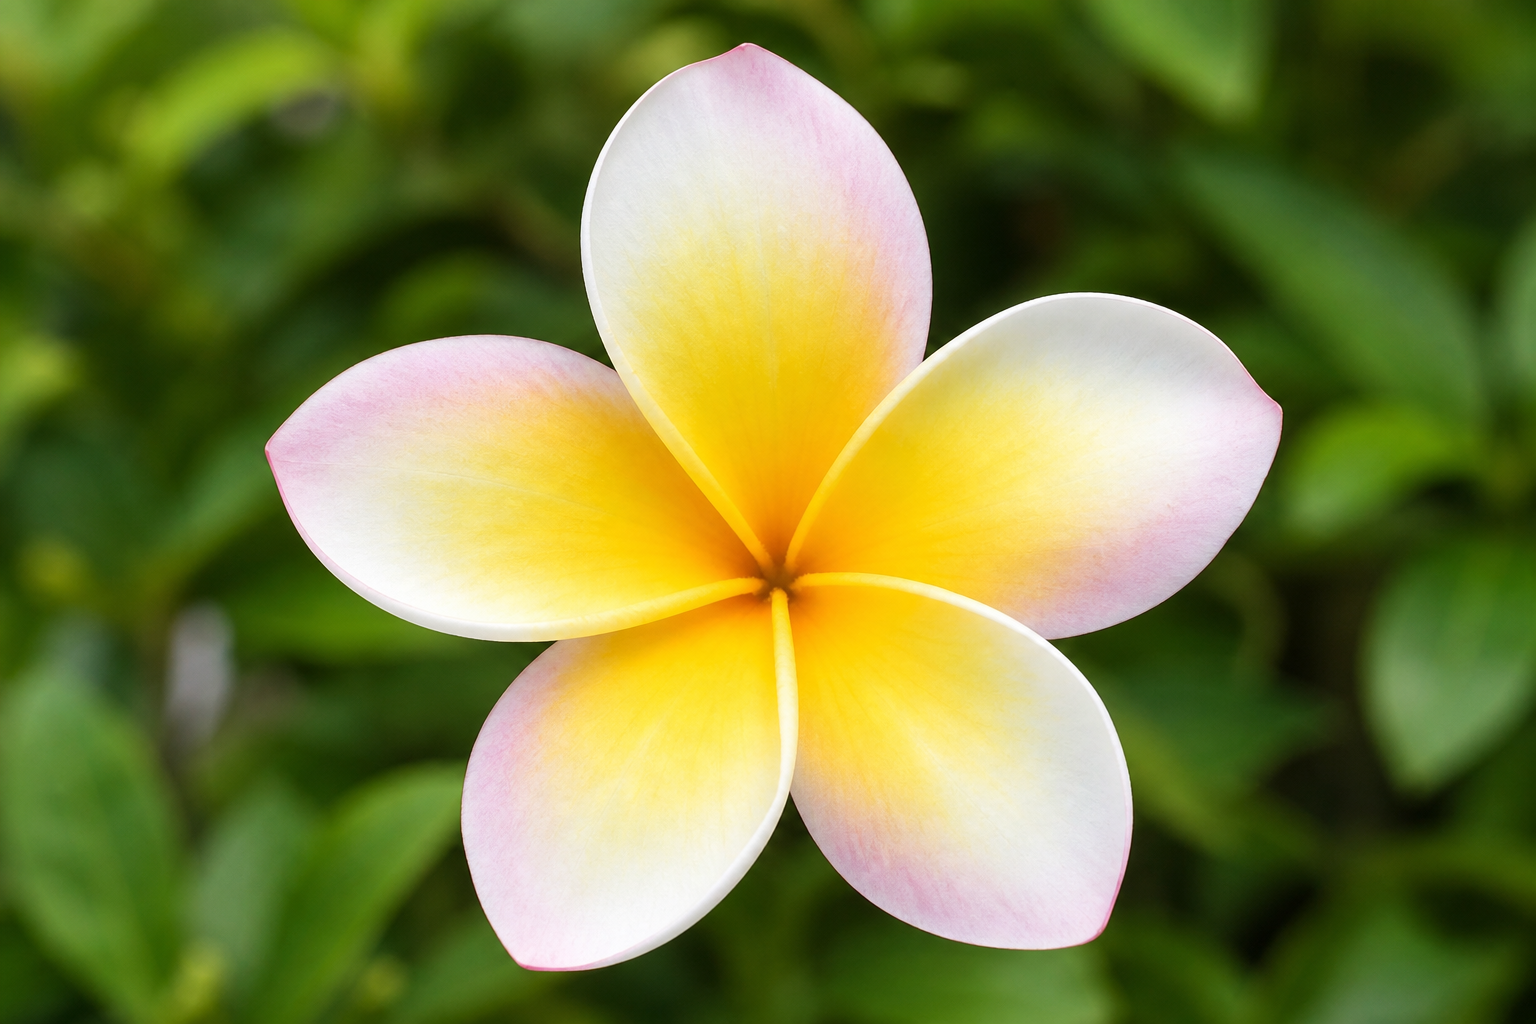
1. Flower Front
Hold the camera parallel to one fully open flower. Keep every petal, the center, and the complete edge inside the frame in bright, even light.
- 1Center Color
The small central point of the flower.
- 2Throat Color and Throat Size
The color and relative size radiating outward from the center.
- 3Primary Color, Secondary Color, and Pattern
The petal face shows the dominant color, secondary colors, gradients, veins, striations, or bands.
- 4Petal Edge and Edge Color
Show whether the edge is smooth, wavy, ruffled, rolled, or distinctly colored.
- 5Petal Shape, Tip, Width, and Overlap
The complete petal outline and how adjacent petals overlap must remain visible.
Limitations: A front photo cannot confirm fragrance, flower size without a scale, reverse color, plant habit, or identity. Color can change with heat, humidity, light, bloom age, camera settings, and display settings.
 1
2
3
4
5
1
2
3
4
5
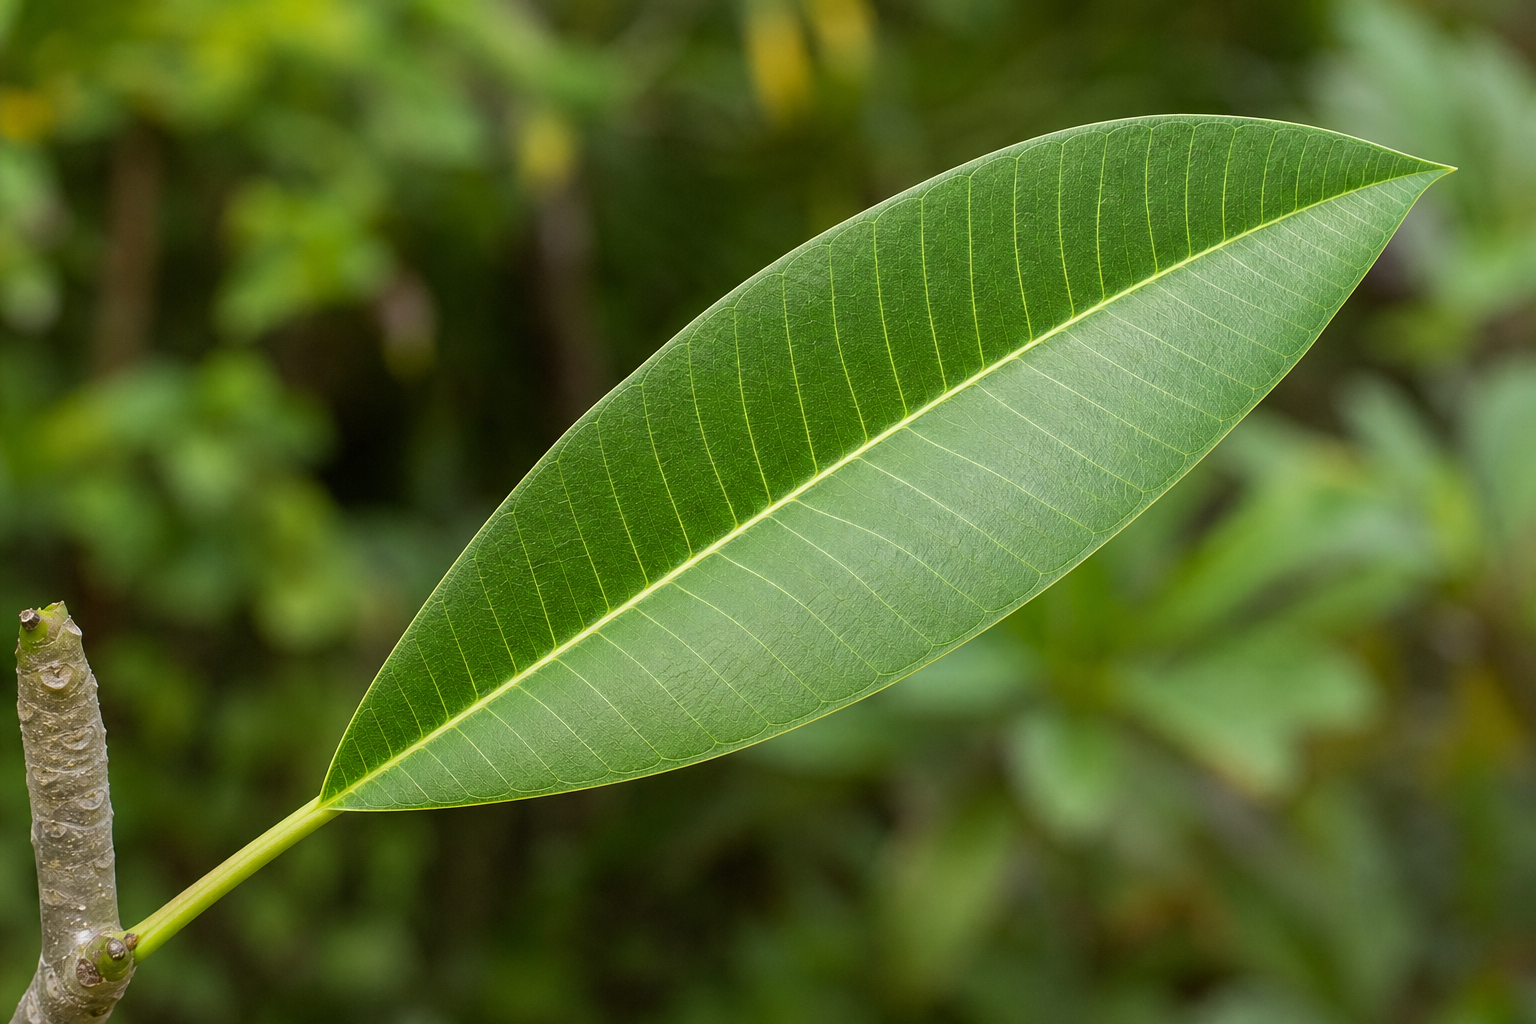
2. Leaf
Photograph one mature leaf from directly above. Include the entire tip, margin, base, petiole, and attachment to the branch.
- 1Leaf Tip
Keep the complete tip sharp and uncropped.
- 2Leaf Margin
The outer edge may be smooth, wavy, or rolled.
- 3Midrib and Veins
Show vein prominence and the midrib color.
- 4Leaf Color, Surface, Gloss, and Variegation
Use even light so texture and sheen are not hidden by glare.
- 5Leaf Base and Petiole
Include the base shape, petiole color, and branch attachment.
Limitations: A leaf photo cannot establish absolute leaf size without a scale or prove cultivar identity. Leaf shape and color may vary with age, nutrition, light, water, weather, and growing conditions.
 1
2
3
4
5
1
2
3
4
5
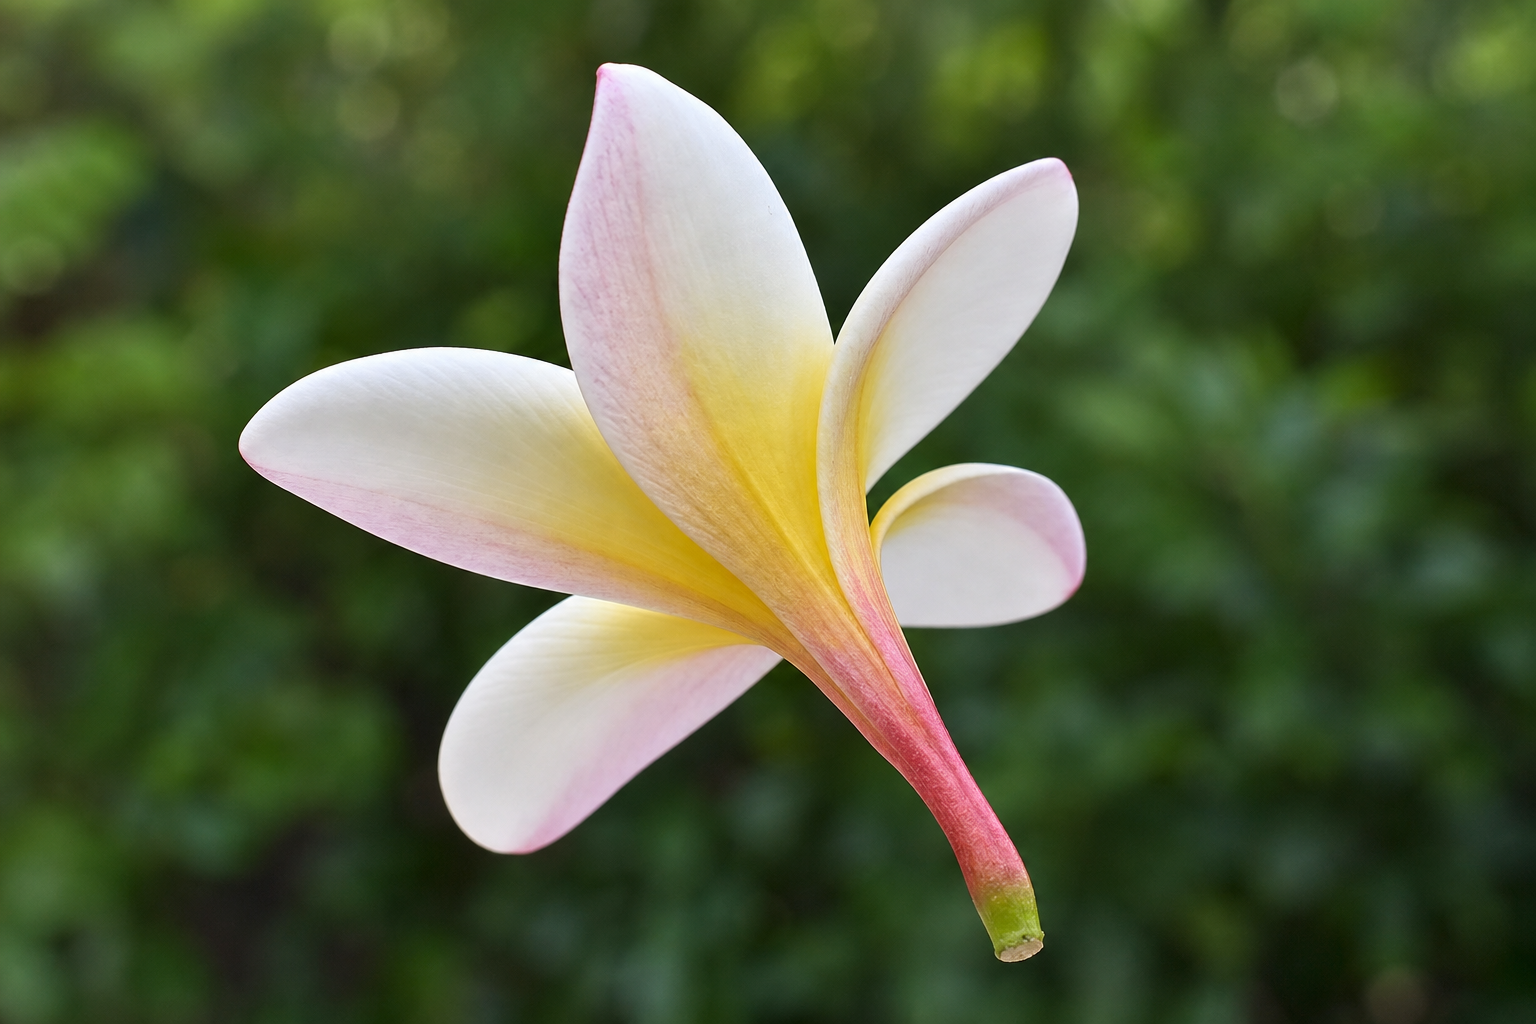
3. Flower Reverse / Side
Photograph one open flower from a rear three-quarter angle. Include the complete flower tube and enough side view to show curl, reflex, and petal thickness.
- 1Reverse Color
The back of a petal may differ from the flower face.
- 2Petal Reflex, Twist, and Curl
The side angle shows how petals bend, turn, or roll.
- 3Petal Edge
Keep the complete edge sharp enough to see its form.
- 4Petal Surface, Texture, and Substance
Even side light can reveal surface and apparent thickness.
- 5Flower Tube
Include the full tube and its visible color transition.
Limitations: This angle cannot reliably establish the front colors, center, throat, flower size, or identity. Texture and substance remain visual estimates until a knowledgeable person examines the live flower.
 1
2
3
4
5
1
2
3
4
5
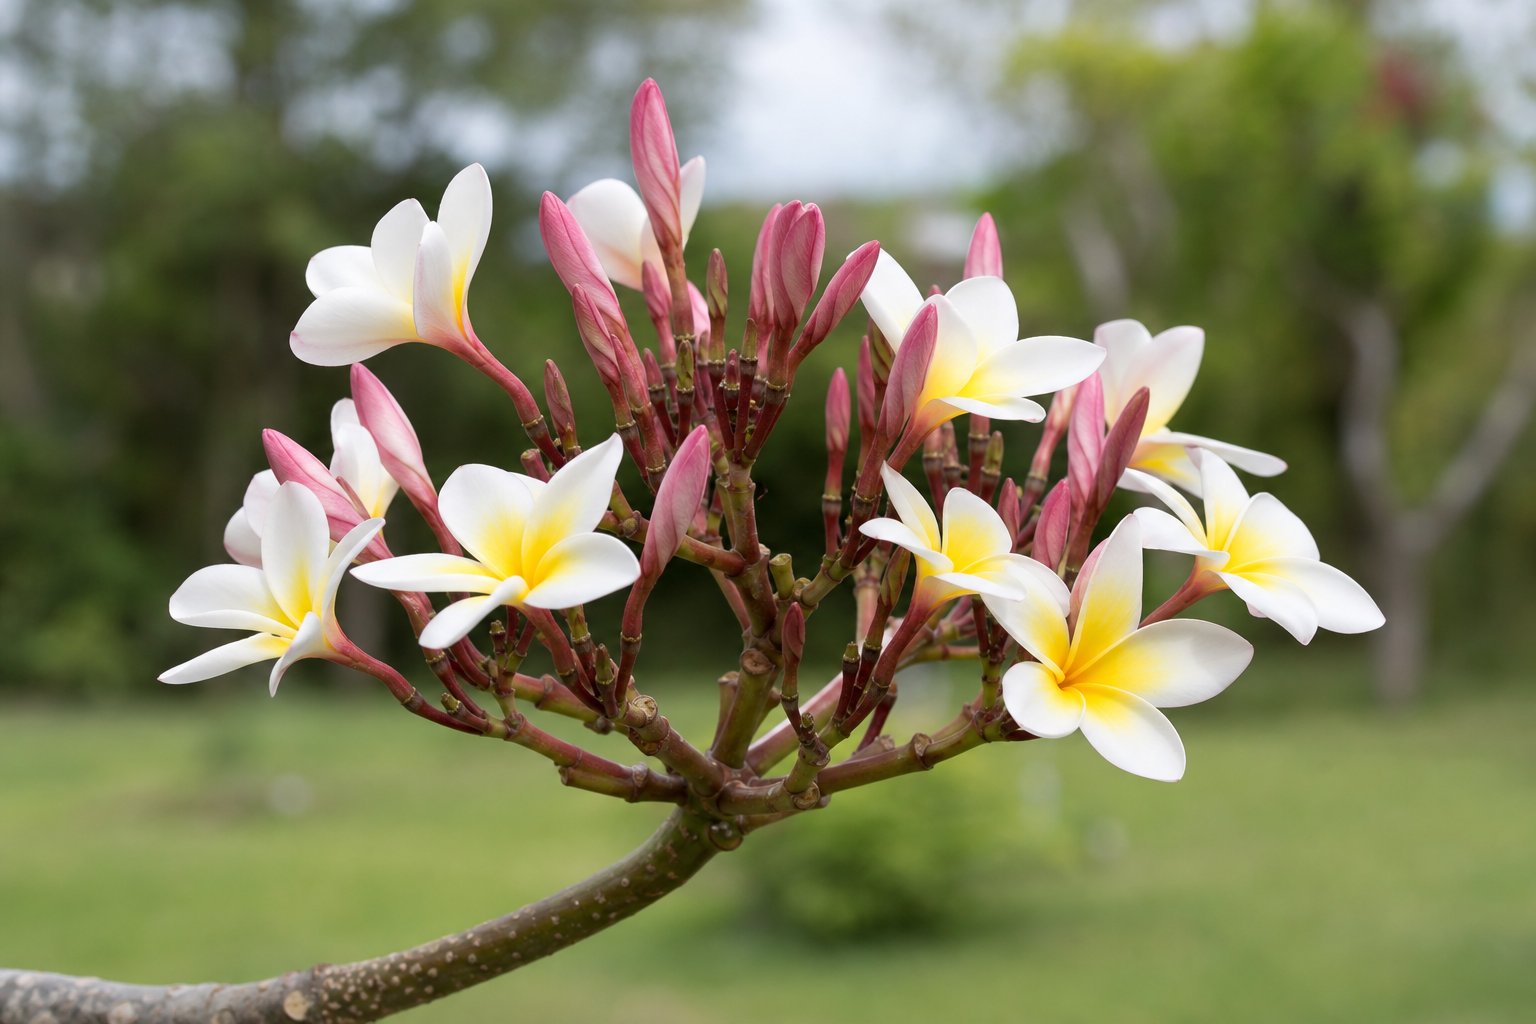
4. Buds & Inflorescence
Step back enough to include the complete cluster, all visible buds, the stalk, and its attachment. Do not crop the outer buds.
- 1Inflorescence Size and Shape
The full boundary is needed to judge the cluster as compact, rounded, upright, open, spreading, or pendant.
- 2Bud Color and Relative Bud Count
Show buds at several stages without hiding them behind open flowers.
- 3Flowers Open at Once
The complete cluster supports a relative count and presentation estimate.
- 4Stalk Color, Texture, and Pubescence
Keep the supporting stalk sharply focused.
- 5Bloom Presentation
Show whether flowers face upright, outward, downward, or in mixed directions.
Limitations: One cluster cannot establish bloom frequency, bloom season, or how the plant performs every year. Counts are relative unless a complete cluster is visible.
 1
2
3
4
1
2
3
4
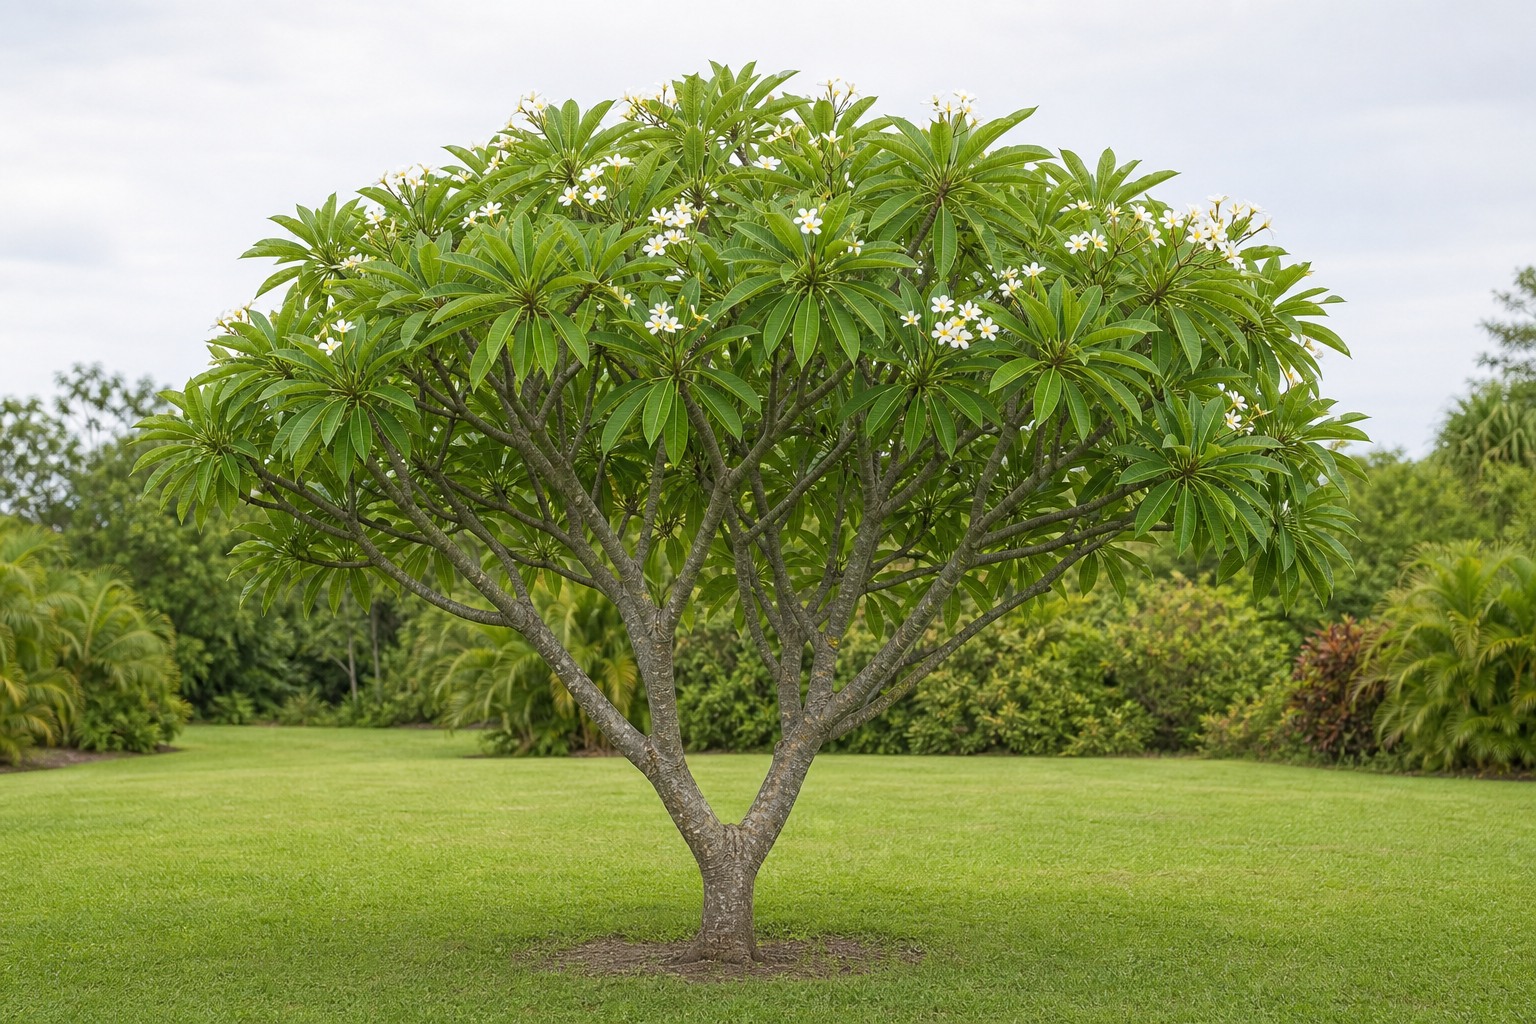
5. Whole Plant / Tree
Step far enough back to show the complete plant from the soil line to the highest branch. Avoid nearby plants that hide the canopy outline.
- 1Growth Habit
The whole outline supports upright, spreading, open, dense, rangy, or lanky observations.
- 2Branching
Show the primary branch structure and major junctions.
- 3Canopy Density
The complete canopy supports open, moderate, or dense observations.
- 4Complete Plant Framing
The trunk base and canopy top must both remain inside the photo.
Limitations: One photograph cannot establish the plant age, growth rate, vigor, mature size, cold tolerance, or garden suitability. Training, pruning, climate, and growing conditions can change the visible form.
 1
2
3
4
5
1
2
3
4
5
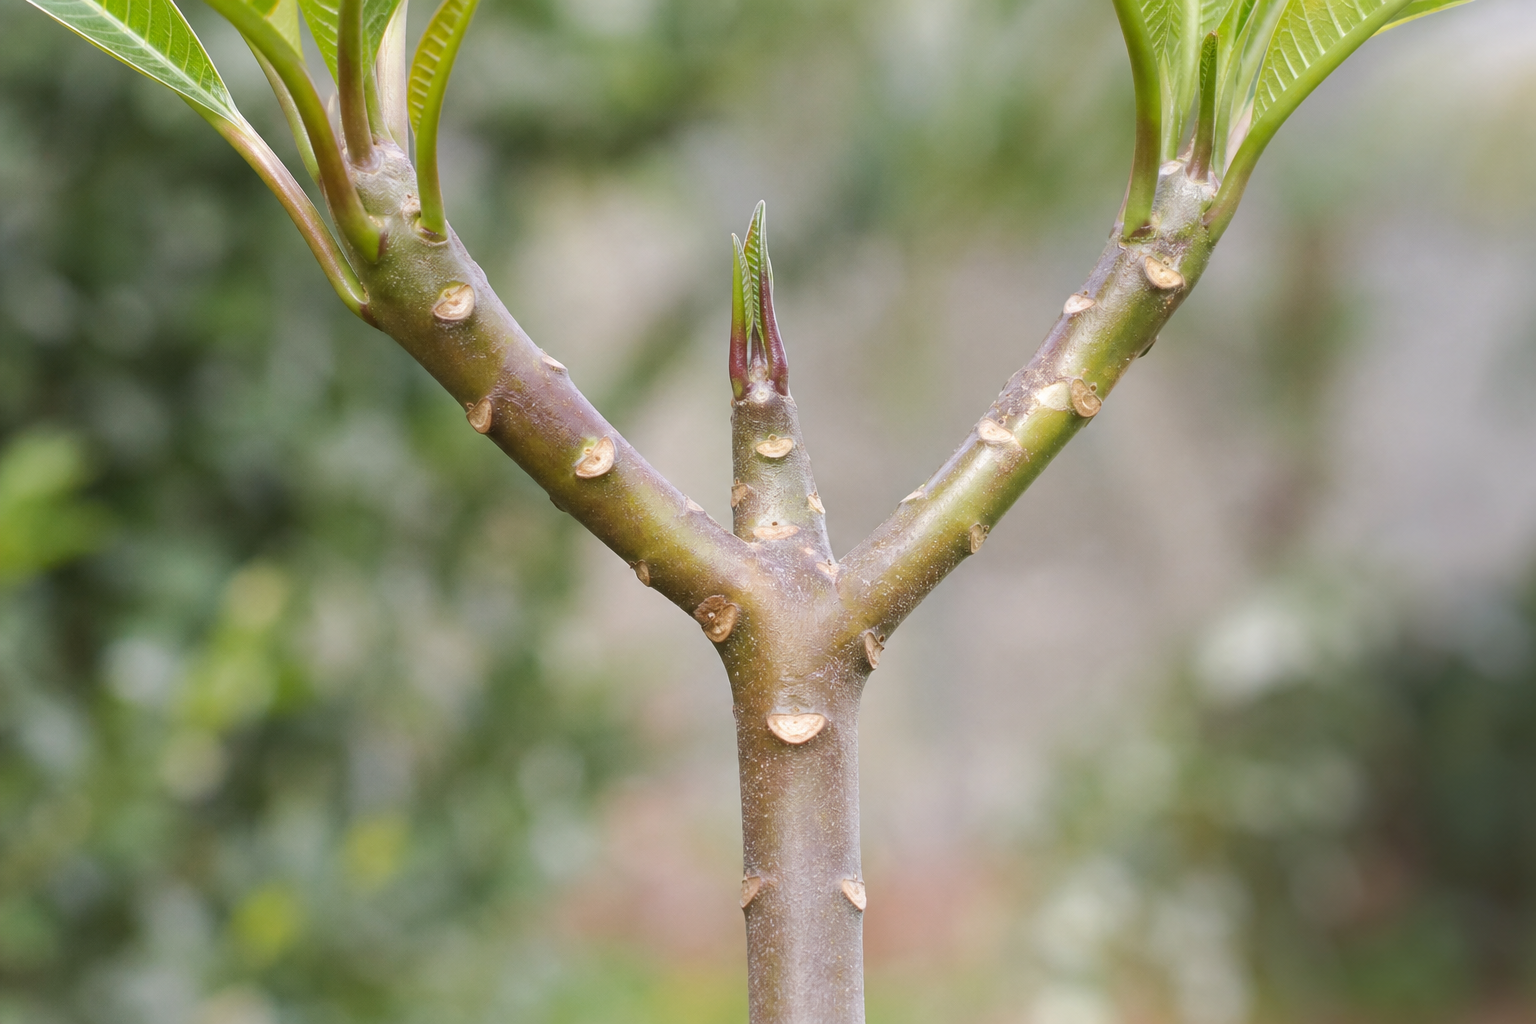
6. Branch / Stem
Photograph a clear branch junction with several complete nodes and the stem surface in focus. Include enough stem above and below the junction to compare spacing.
- 1Branch Junction
The junction provides direct branching evidence.
- 2Nodes and Leaf Scars
Keep several nodes sharp and unobstructed.
- 3Internode Length
Complete spaces between successive nodes support short, medium, or long estimates.
- 4Stem Color and Texture
Even light reveals the natural color and whether the surface appears smooth, rough, or corky.
- 5New Growth
Include the growing tip when it is present.
Limitations: A branch close-up cannot establish the whole tree habit, growth rate, or mature branching performance. Pruning and recent growth can change the visible spacing.
 1
2
3
4
5
1
2
3
4
5
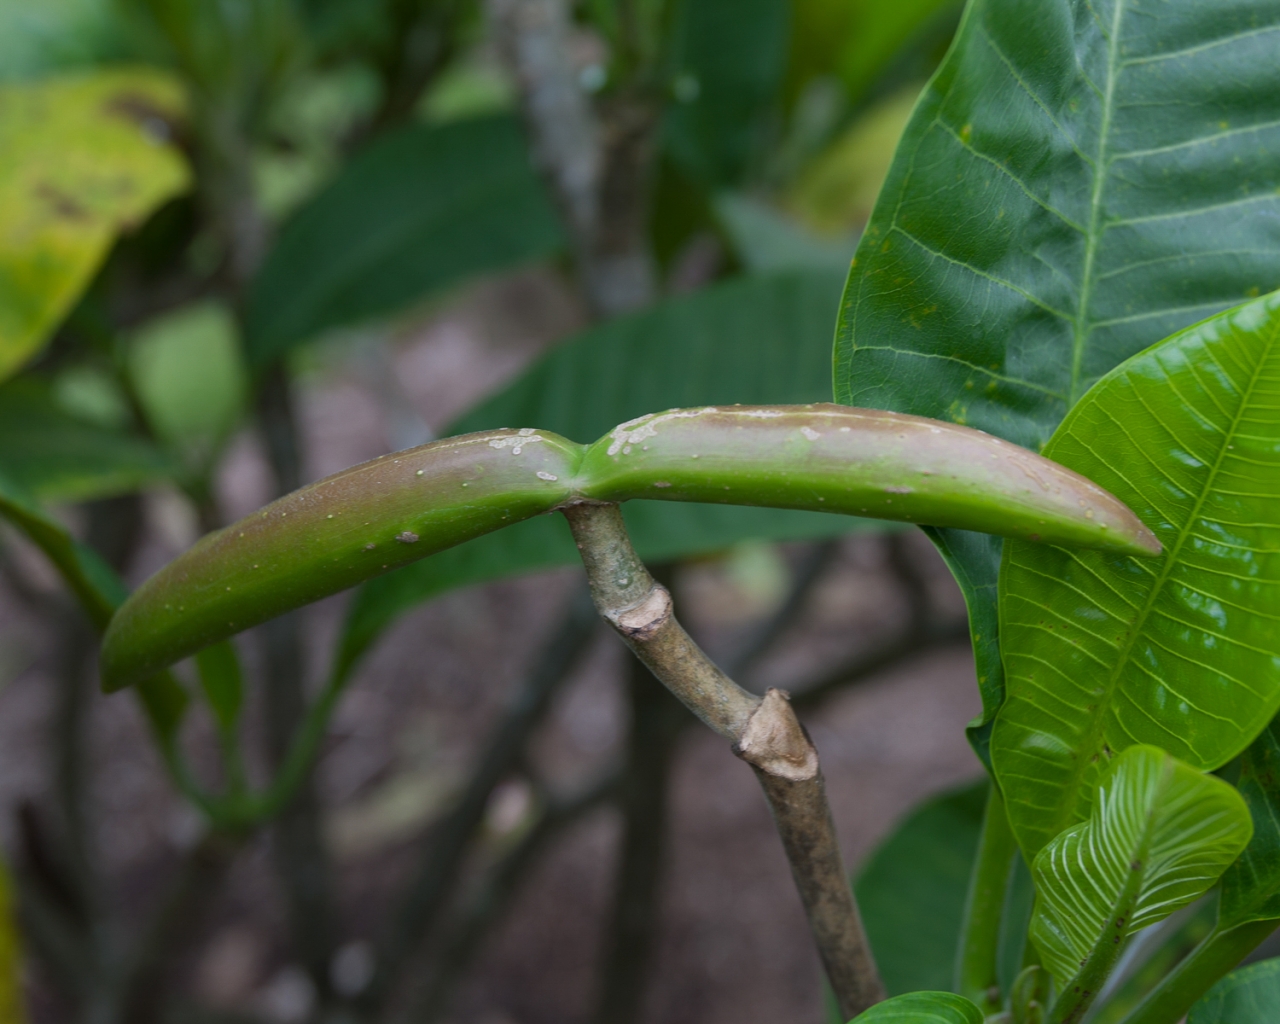
7. Seed Pod
If a pod is present, photograph the complete pod or pair, its seam, tips, surface, stalk, and attachment to the living plant.
- 1Pod Color
Use even light so natural green, reddish, or brown tones remain accurate.
- 2Pod Shape and Pairing
Keep both complete pods visible when a pair is present.
- 3Pod Surface and Seam
The long seam and surface texture should be sharply resolved.
- 4Visible Maturity
Color and drying can support only a visual maturity estimate.
- 5Attachment Point
Show that the pod belongs to the photographed plant.
Limitations: A seed pod photograph cannot establish pod parentage, pollen parentage, fertility, seed viability, germination, or reliable pod production.